✨ How to make a Next.js app a PWA with offline support

I am a full stack developer, YouTuber and blogger!
Hello everyone 👋
In today's article, we will see how we can make a PWA out of a Next.js app! And it is going to be very exciting as the biggest feature will be offline support with a very little configuration!
📃 INDEX
- Project code
next-pwapackage- Getting assets
- Web manifest file
- PWA Configuration
- Offline fallback page
Before we move on, I would like to recommend checking my video on YouTube about this if you are comfortable following along with a video. Make sure to leave a comment about any suggestions, or doubts you have 🙂.

1. Project code
For this demo, I already have a simple project setup that we can use to start or test.
You can download the source or clone the repo: GitHub Link
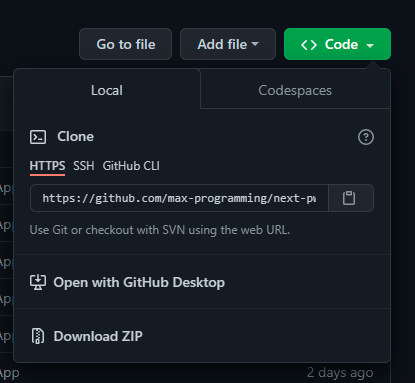
This repository has 2 branches, the
mainone contains the starter code and thepwabranch contains the complete code.
2. next-pwa package
The next step is to install the NPM package we need for this. It's a great package that does everything for you automatically.
npm i next-pwa
# or yarn add next-pwa
3. Getting assets
If you are familiar with making a PWA, you already know that we need different sizes of logos for our app to function properly on different devices. I found a very good website to generate these images in different sizes.
You can simply go to Icongen and select the types you want. For the sake of this tutorial, I am generating these images. And upload vercel.svg or your existing logo.
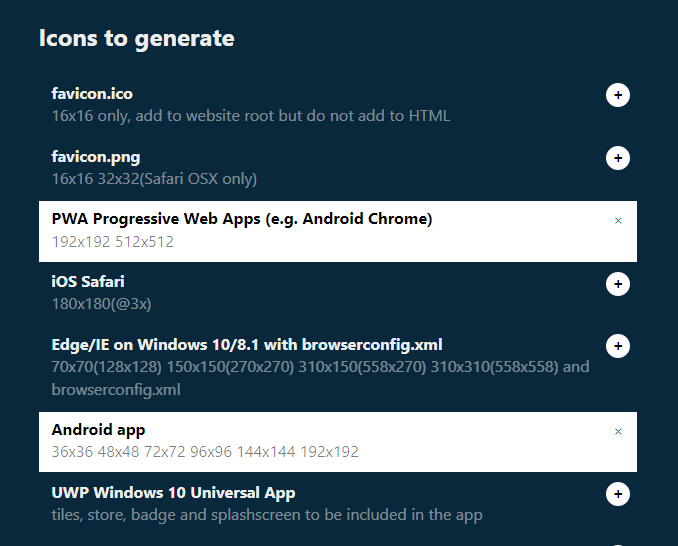
After getting all the images, add them to a new folder named icons in the project's public folder.
Rename all the file names with icon-{size}x{size}.png. For eg, icon-192x192.png
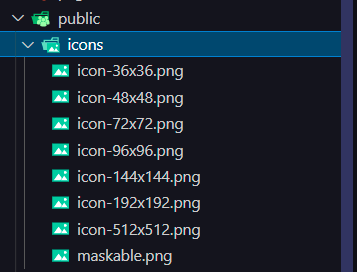
Additionally, add a maskable.png which you can either generate online or for the sake of this tutorial, I used the same 192x192 sized icon for the maskable icon.
4. Web manifest file
Now we need to create a file for the metadata about the app. Create a file named manifest.json in the public folder and copy the contents of the file from here.
You can fill up the contents as per your project, for this project, this is the data we are using
{
  "short_name": "Next PWA",
  "name": "Next PWA Tutorial",
  "description": "...",
  "icons": [
    {
      "src": "/icons/icon-36x36.png",
      "type": "image/png",
      "sizes": "36x36"
    },
    {
      "src": "/icons/icon-48x48.png",
      "type": "image/png",
      "sizes": "48x48"
    },
    {
      "src": "/icons/icon-72x72.png",
      "type": "image/png",
      "sizes": "72x72"
    },
    {
      "src": "/icons/icon-96x96.png",
      "type": "image/png",
      "sizes": "96x96"
    },
    {
      "src": "/icons/icon-144x144.png",
      "type": "image/png",
      "sizes": "144x144"
    },
    {
      "src": "/icons/icon-192x192.png",
      "type": "image/png",
      "sizes": "192x192"
    },
    {
      "src": "/icons/icon-512x512.png",
      "type": "image/png",
      "sizes": "512x512"
    },
    {
      "src": "/icons/maskable.png",
      "type": "image/png",
      "sizes": "192x192",
      "purpose": "maskable"
    }
  ],
  "start_url": "/",
  "background_color": "#FFFFFF",
  "display": "standalone",
  "scope": "/",
  "theme_color": "#000000"
}
Now you need to link the manifest.json file in your Next.js <Head> component in all the pages.
<Head>
  <link rel='manifest' href='/manifest.json' />
</Head>
5. PWA Configuration
In the first step, we installed the next-pwa NPM package which we will be using now. In your project's root, create a next.config.js or edit if it already exists.
We import the withPWA function from the package and wrap the export in that function, here we can add a pwa object which we will configure like so 👇
The dest property is the destination folder and we added a disable property which disables creating the service workers while we are in development.
const withPWA = require('next-pwa');

module.exports = withPWA({
  pwa: {
    dest: 'public',
    disable: process.env.NODE_ENV === 'development',
  },
  reactStrictMode: true,
});
6. Offline fallback page
Additionally, we can also add a page to show if the user is offline, this enhances the user experience and makes it work like an actual app.
Just add a page named _offline.js in your pages folder, and next-pwa will automatically show that page if the user is offline. But the condition is that the user has to visit the website so that the offline page is cached whenever the user first visits the website.
Here are some examples of offline pages:
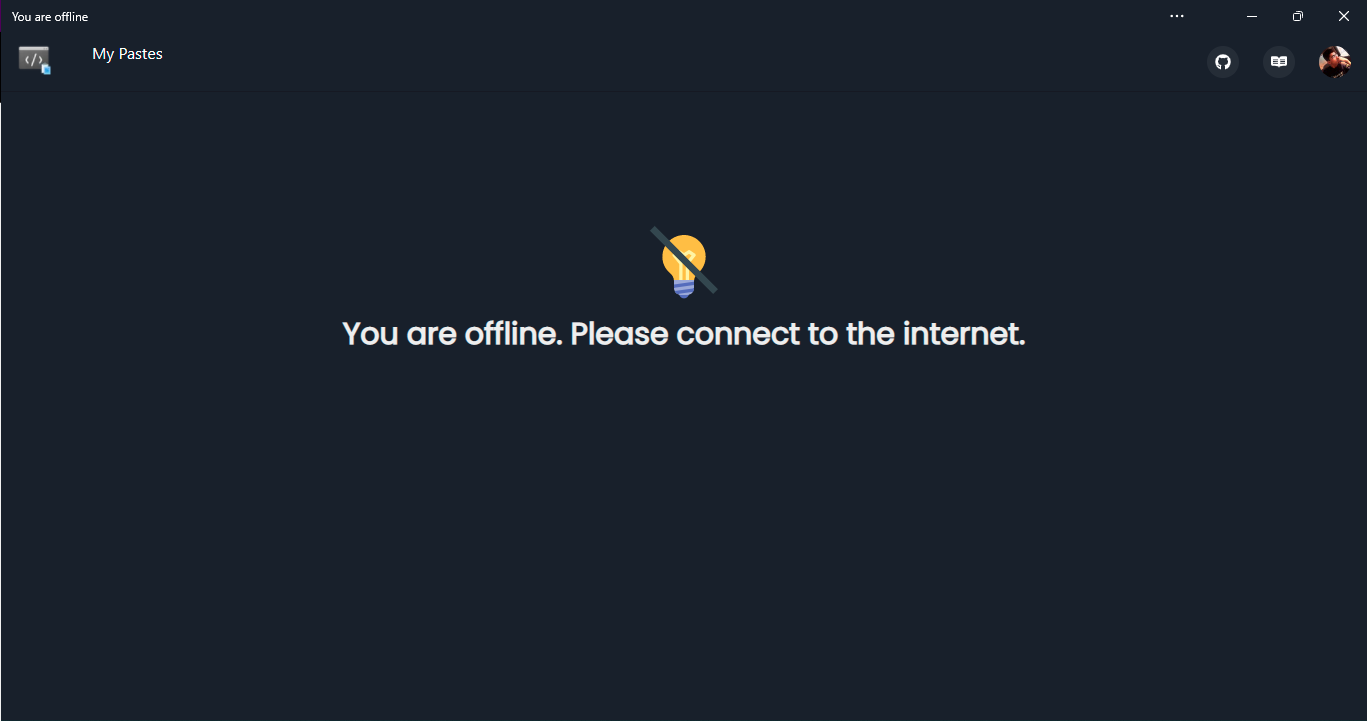
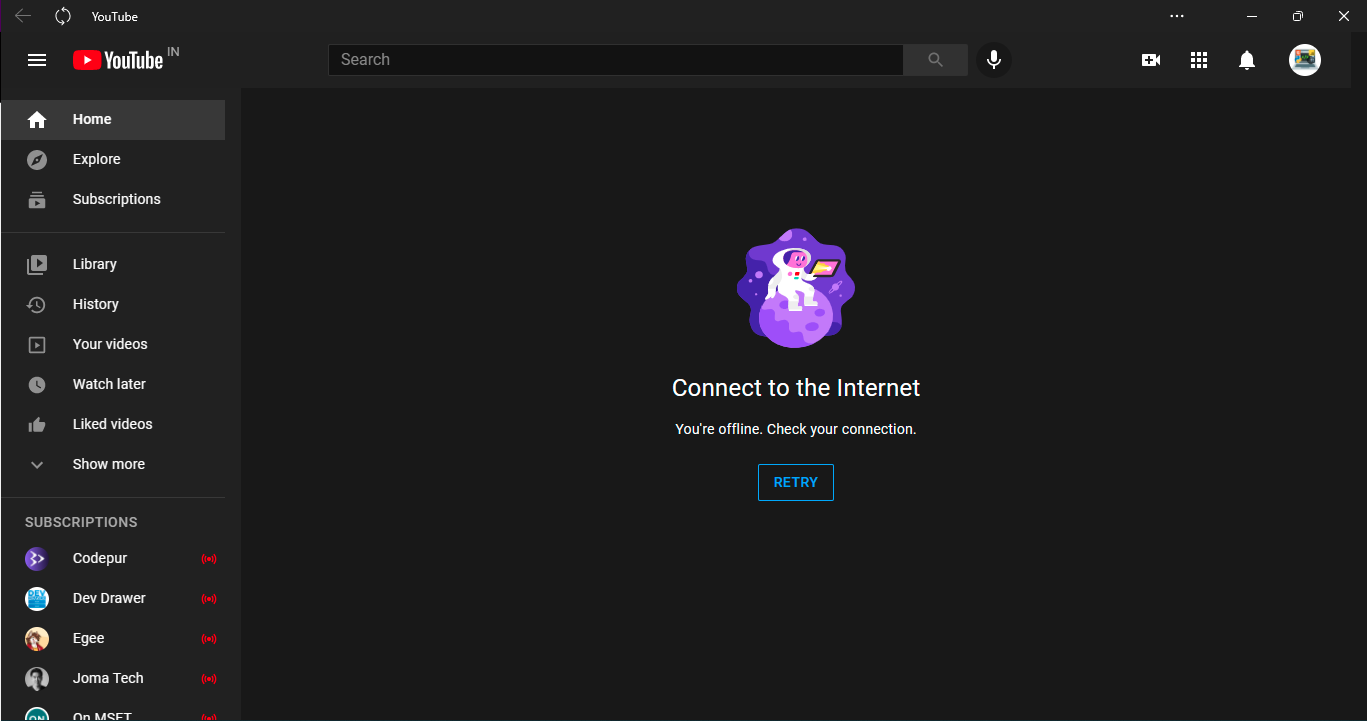
👆 YouTube
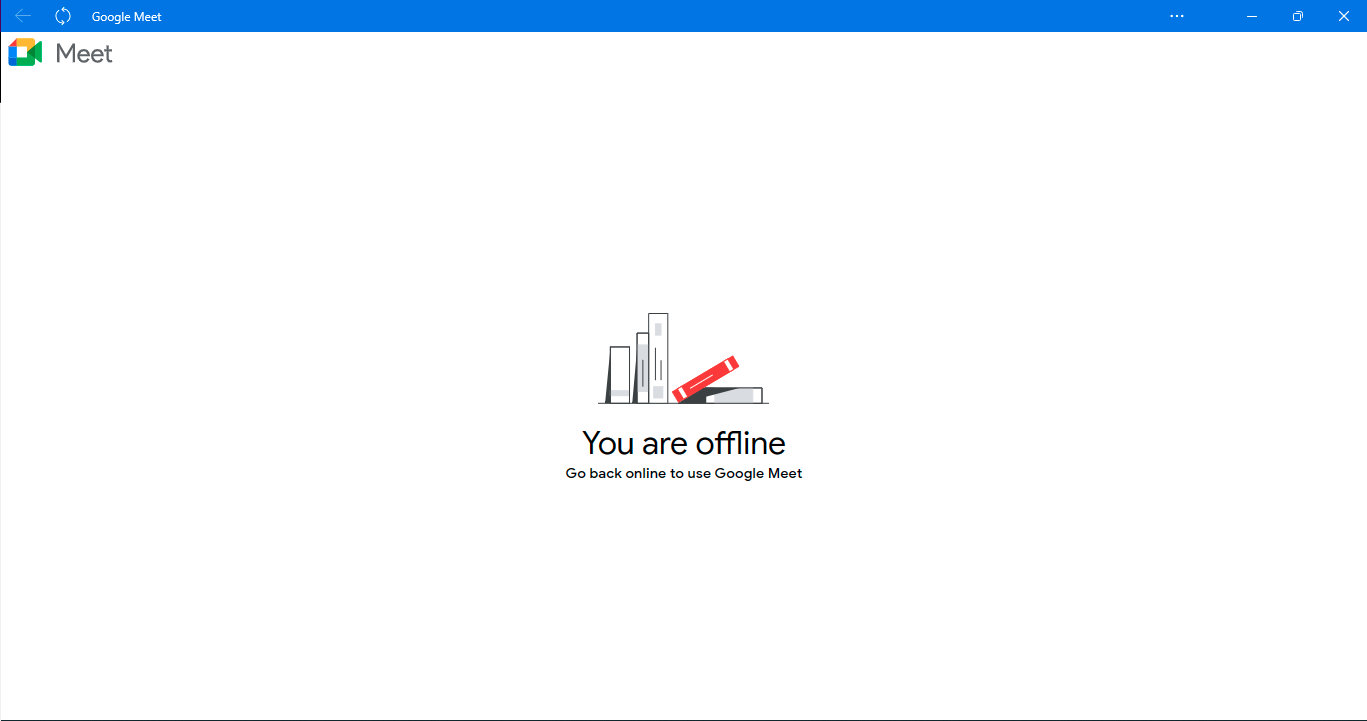
A final touch would be to add these files to your .gitignore file to not commit these service worker files created by next-pwa
# PWA files
**/public/precache.*.*.js
**/public/sw.js
**/public/workbox-*.js
**/public/worker-*.js
**/public/fallback-*.js
**/public/precache.*.*.js.map
**/public/sw.js.map
**/public/workbox-*.js.map
**/public/worker-*.js.map
**/public/fallback-*.js
And we successfully completed the process, and now your Next.js app can be used offline, is installable as an app, and is also a PWA.
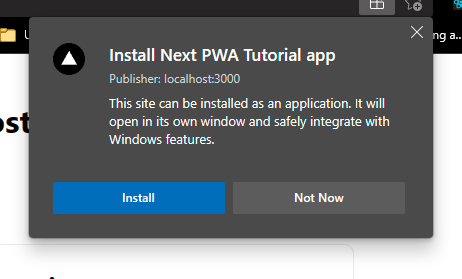

I hope it helped you make your app a PWA, let me know your experience in the comments and share it with people so that they can do it easily too.