🎣 Webhooks Demystified - Get Real-Time Personal Notifications with Discord Webhooks

I am a full stack developer, YouTuber and blogger!
Hey all 👋👋
Webhooks are a powerful tool that allow applications to communicate with each other in real-time. They are often used to send notifications or updates from one system to another without requiring manual intervention.
If you know the basics of sending a request to a REST API, you can easily use Webhooks to make your lives easier.
Today, I will show you how you can use Discord Webhooks to send personal notifications to your Discord server. This will be an easy and quick demo of how Discord Webhook works.
Discord Webhooks can be used for:
Notifying a server about updates to a website or social media account (YouTube, Twitch, Twitter, etc)
Automating messages for a welcome or goodbye message to new server members
Sending notifications about events or reminders to a server
Sharing information from other sources, such as weather reports or game updates
If you are comfortable with videos rather than articles, you can check out the video on my YouTube channel 👇
🎯 The Goal
By the end of this article, you will understand how Discord Webhooks work, and how you can use them to notify you when a user clicks on a button on your website.
🌱 Creating a Webhook
On Discord, you can easily create a webhook by following the steps below
You can't create or control a Webhook on Discord mobile. Either use the web version or the desktop version to do that.
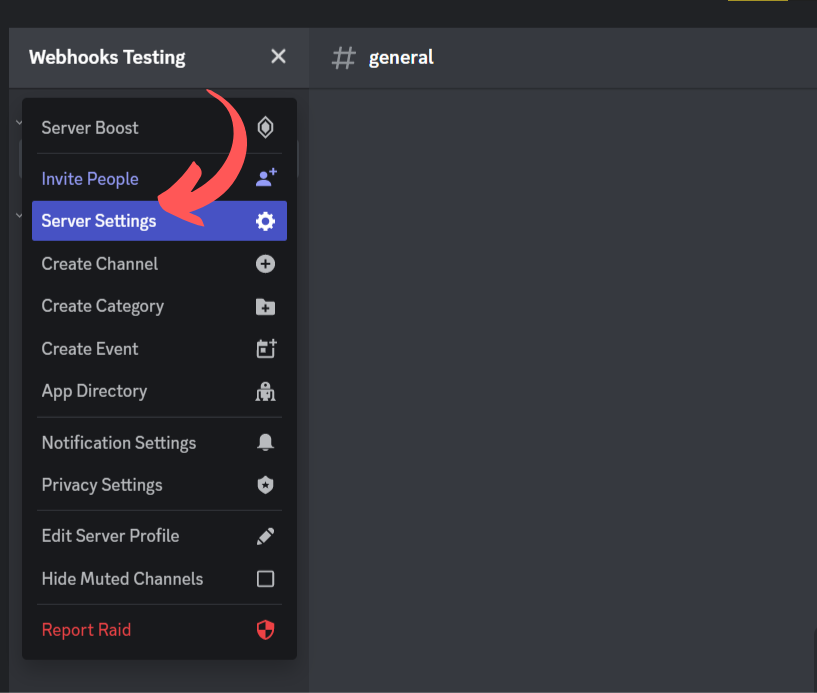
The first step is to go into your Server Settings.
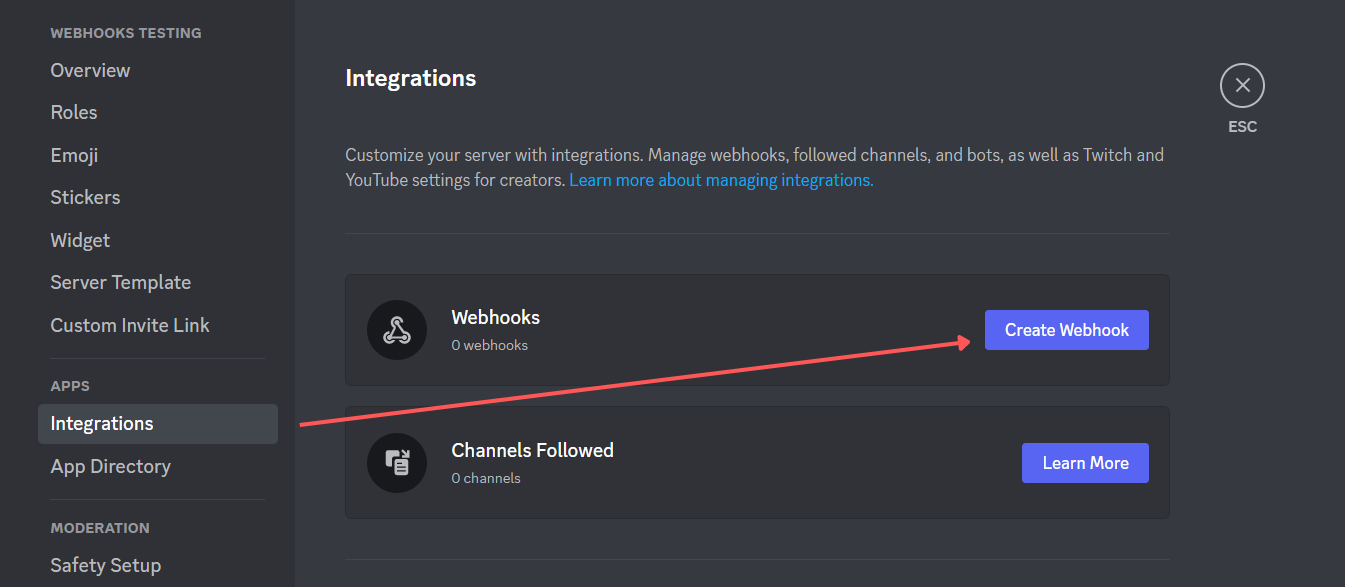
Then on the settings page, click on Integrations, and then Create Webhook.
Choose a name and avatar for your Webhook Bot, and hit Save Changes.
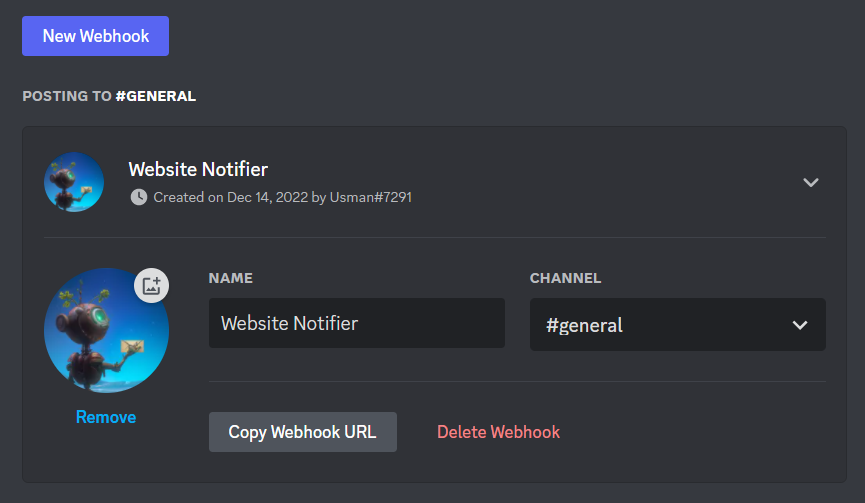
Make sure to copy the Webhook URL by clicking on the Copy Webhook URL button. We will need that later to interact with the Webhook.
🧪 Testing the Webhook
To test and see how our Webhook works, we will use the API Tester mobile app. You can download it from the App Store link and the Play Store link.
The rapid changes in the world have made it possible for individuals to increase their productivity and gain greater mobility by working directly from their smartphones from any location.
API Tester allows users to test APIs from anywhere, at any time, using a device that they already have with them. This can be especially useful for testing APIs while on the go or when a desktop or laptop computer is not available.
There are a few reasons I really like API Tester:
Beautiful and easy-to-use UI
Great UX
Importing data from Postman and other platforms
Environment variables
Much more...
Creating a request
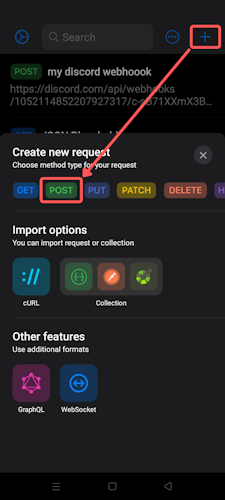
You can create a new request on API Tester, click on the Plus Button on the top-right, then select POST as your request type.
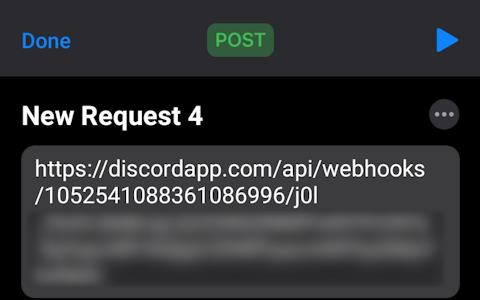
Then, paste the Webhook URL you copied earlier after creating the Webhook.
You must hide the Webhook URL because anyone with the Webhook URL can use it to send messages on your server.
Next, go to the Body section, select Raw, and open Post Data.
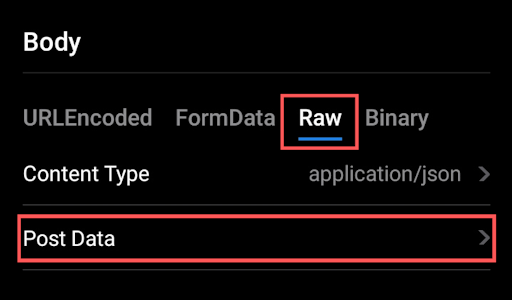
Inside the Post Data, add this JSON
{
  "content": "This is a test message"
}
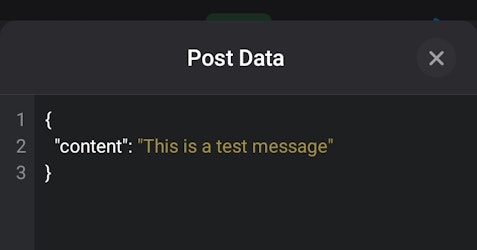
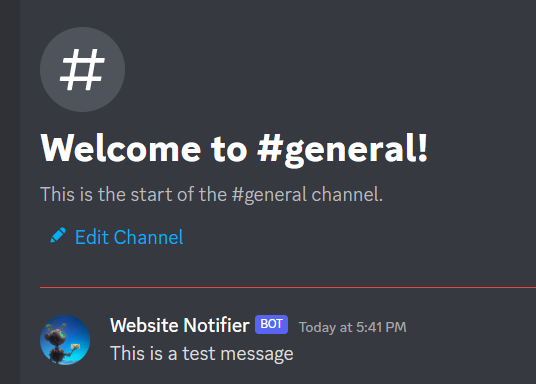
Finally, close the Post Data popup, and hit the Send button in the top right corner.
You will immediately receive a message on your Discord server from the webhook you created.
You can learn more about API Tester from their official site:
💬 Adding the feature
To add this feature to your website, simply send a POST request to the Discord Webhook URL.
async function sendDiscordMessage(name) {
  const response = await fetch("DISCORD_WEBHOOK_URL", {
    method: "POST",
    body: JSON.stringify({
      content: `${name} button was clicked.`,
    }),
    headers: {
      "Content-Type": "application/json",
    },
  });
}
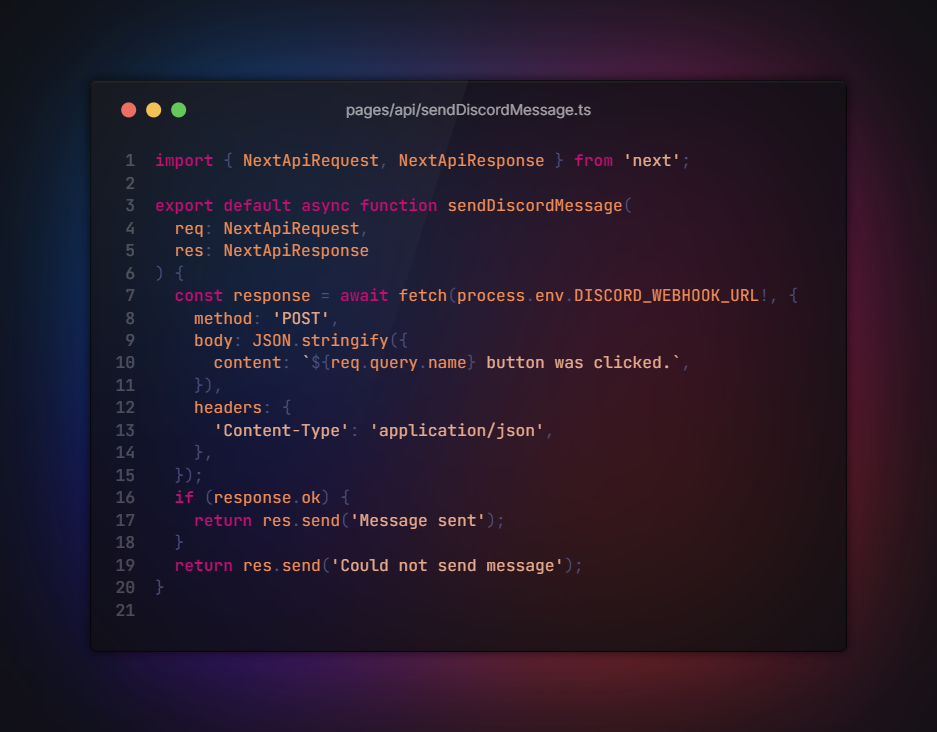
✨ How do I do it with Next.js?
My personal site is built using Next.js and React. I created a serverless function using the API Routes in Next.js so that my discord webhook URL is protected.
Otherwise, directly sending the request from the front end might cause your Webhook URL to be exposed.
This is my code for the backend 👇.
And this is the code for my front end 👇.
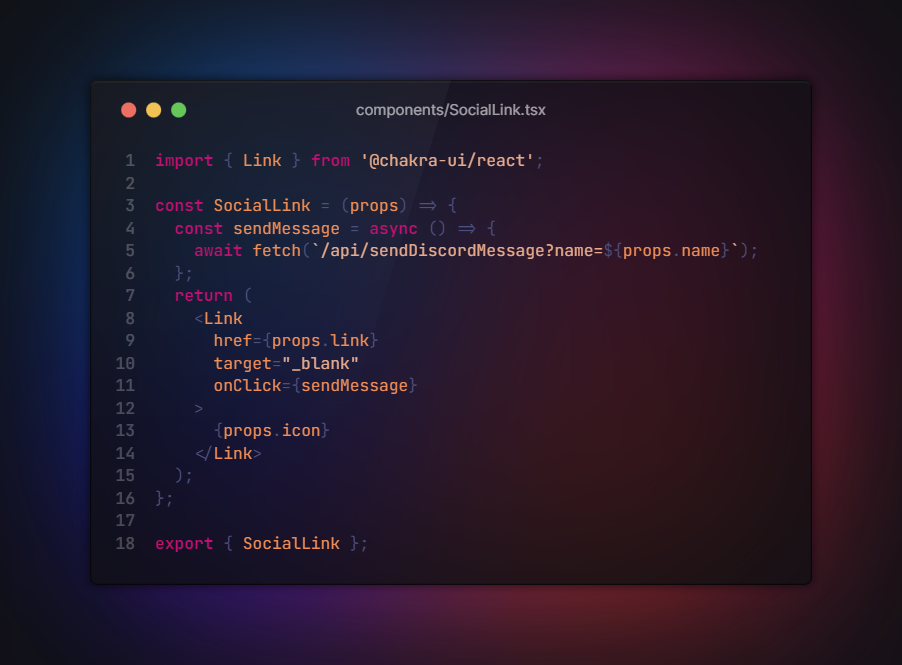
You can always find the code for my website on GitHub.
Conclusion
I hope this article helped you understand how Webhooks work and how you can use Discord Webhooks for various tasks. Comment below how you utilized Discord Webhooks or any other type of Webhooks.
I would love to hear your thoughts on this topic. Please share your ideas and experiences in the comments section below!