👋 Welcome back developers.
So, in this article we will see how we can create a simple Copy to Clipboard functionality in JavaScript.
Note: This will only work if you want to copy text inside of an
inputortextarea. It can't be done with any other element.
This is how it's gonna work 👇
It is just a few lines of code and we will be done with it! Let's start with the HTML!
🎨 HTML
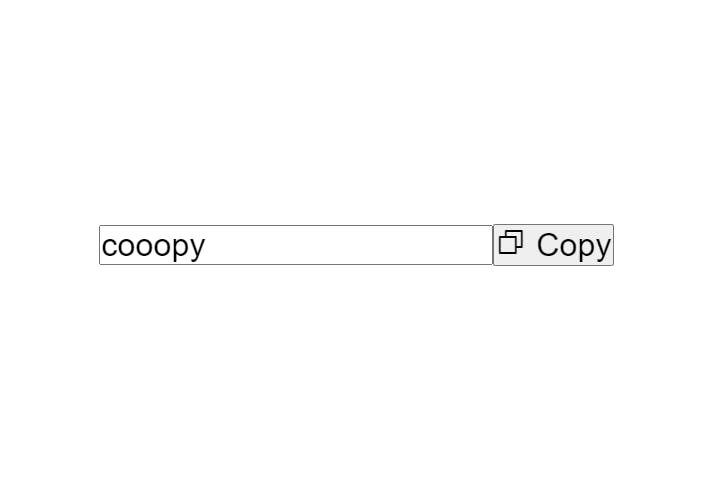
The markup for this is very simple. We'll have an input and a button with some id and that's it. We'll also use an icon font called Phosphor icons. So just include it and use the HTML as shown below
<!DOCTYPE html>
<html lang="en">
<head>
  <meta charset="UTF-8">
  <meta name="viewport" content="width=device-width, initial-scale=1.0">
  <title>Copy to clipboard</title>
</head>
<body>
  <input type="text" id="copyText" value="cooopy">
  <button id="copyBtn"><i class="ph-copy"></i> Copy</button>
  <script src="https://unpkg.com/phosphor-icons"></script>
</body>
</html>
This will be the result 👇

💄 CSS
Now we will do the CSS. It will not be too much, but I will be explaining what we do for each element.
First off, we'll use the Universal Selector (*). And put some resets in it. We are putting the font size as 1.5rem as there is no other element except for the input and the button.
* {
    margin: 0;
    padding: 0;
    font-size: 1.5rem;
    box-sizing: border-box;
}
Next up, we'll center everything on our page using Flexbox on our body and height as 100vh.
body {
    height: 100vh;
    display: flex;
    justify-content: center;
    align-items: center;
}
Result after centering everything 👇

Now, we will style our button and input, first off, I wrote the common styles by selecting both of them together. These properties are pretty self-explanatory.
button, input {
    padding: 20px;
    border-radius: 20px;
    outline: none;
}
Then we give the input some color on the border and a nice and simple effect on focus. We set the cursor as default so that some people might not get caught that this is an input.
input {
    cursor: default;
    border: 5px solid #2196F3;
    transition: all 0.3s ease-in-out;
}

input:focus {
    border-color: #0078D7;
}
And finally, we style our button as shown below. We give it a nice background color and a hover effect changing the background.
button {
    cursor: pointer;
    color: #fff;
    background: #0078D7;
    border: none;
    margin-left: 10px;
    transition: all 0.3s ease-in-out;
}
button:hover {
    background: #2196F3;
}
End result:

Now let's jump to the most easiest, JS part!
💡 JavaScript
The JavaScript will be pretty straightforward. When the button is clicked, we will trigger a function where we will first select the input and then we will execute the copy command. Let's see how.
First, we select both of the button and input by their IDs
const copyBtn = document.getElementById('copyBtn')
const copyText = document.getElementById('copyText')
And then we check if the button is clicked using onclick in JS. You can also use addEventListener or onclick in HTML if you wish. But I think this is the easy way.
When the button is clicked, we select the text and then copy it.
copyBtn.onclick = () => {
    copyText.select();    // Selects the text inside the input
    document.execCommand('copy');    // Simply copies the selected text to clipboard
}
So with the select() method, we basically select the text that is inside the input or textarea. And with execCommand, we execute the copy command, which in the end copies whatever text we have selected.
🎉 And we are done with it.

Warning: the
execCommand()method still works but it is non standard and I will write an updated blog post covering the Clipboard API .
Let me know in the comments how was your experience throughout this blog post and share your projects where you used this super easy method of copying something in JavaScript.
💙 Give it a like if you liked reading it. Thanks for reading!!!

