# 🗃️ How to use Mongoose with Next.js for MongoDB?
# Hey all 👋!
Next.js is an amazing full-stack framework and MongoDB is a great NoSQL database. Using them together will make an app super fast and awesome! In this post, we'll go ahead and set up the Mongoose ODM inside our Next.js app to make use of MongoDB!
So let's see how you can set up Mongoose in a Next.js app to connect and interact with your MongoDB database!
## Setting up mongoose and the connection string
In your Next.js project, to set up mongoose you simply have to install it as a dependency just as you do with Node.js.
```
npm i mongoose
```
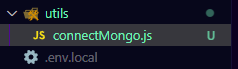
After installing `mongoose`, we'll create a folder called `utils` in our root and create a new file named `connectMongo.js` file.
In this file, we will export a function that connects us to MongoDB.
```js
import mongoose from 'mongoose';
const connectMongo = async () => mongoose.connect(process.env.MONGO_URI);
export default connectMongo;
```
Also create a file named `.env.local` in the root of your project to store the connection URI in your environment variable and hide it from the main code.
```py
# I am using MongoDB locally but you can use MongoDB Atlas also if you want
MONGO_URI="mongodb://localhost:27017/mongoose_nextjs_demo"
```
## Create a basic mongoose model
Now that `mongoose` is set up successfully in our Next.js project, the rest of the work is quite similar to a Node.js app. I personally like to create a folder called `models` in the root of my project and create my model files there, just like a normal node.js app.
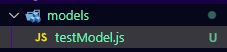
So now we'll create a file named `testModel.js` in our `models` folder where we'll create our mongoose model.
```js
import { Schema, model, models } from 'mongoose';
const testSchema = new Schema({
name: String,
email: {
type: String,
required: true,
unique: true,
},
});
const Test = models.Test || model('Test', testSchema);
export default Test;
```
> IMPORTANT: Notice how we use `models.Test` and then the logical OR operator and then use the `model` function by mongoose. We do that because we don't want to create a new model every single time we hit an API route in Next.js. If you don't do that and just go with `model('Test', testSchema)`, you might face an error that would prevent creating/updating etc.
## Using mongoose in API routes
Now that we have our model created, we can use it to see it in action!
Next.js is a full-stack framework, and so it also provides a node environment where we can run Node.js back-end code easily and integrate that with the frontend.
In the `pages/api` folder, we can create a file or folder that will ultimately create an API route and we can write back-end code in that file and call it as a REST API.
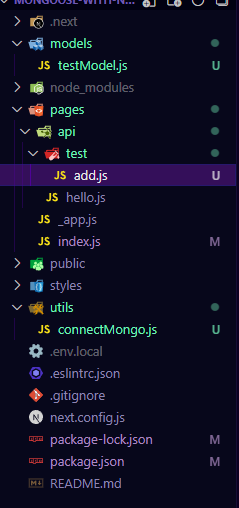
For this demo, I created a folder `test` and a file `add.js` inside of it which gives the path `/api/test/add`.
```js
import connectMongo from '../../../utils/connectMongo';
import Test from '../../../models/testModel';
/**
* @param {import('next').NextApiRequest} req
* @param {import('next').NextApiResponse} res
*/
export default async function addTest(req, res) {
try {
console.log('CONNECTING TO MONGO');
await connectMongo();
console.log('CONNECTED TO MONGO');
console.log('CREATING DOCUMENT');
const test = await Test.create(req.body);
console.log('CREATED DOCUMENT');
res.json({ test });
} catch (error) {
console.log(error);
res.json({ error });
}
}
```
Here, we import the `connectMongo` function and our `Test` model that we created from the respective files. And the big comment I have at the top is [JSDoc](https://jsdoc.app/) which can be used to provide autocomplete and typing in the IDE. You can omit it if you want.
Finally, the code is simple and straightforward, you can use the normal `mongoose` style code to create a new document. By getting the data from `req.body`.
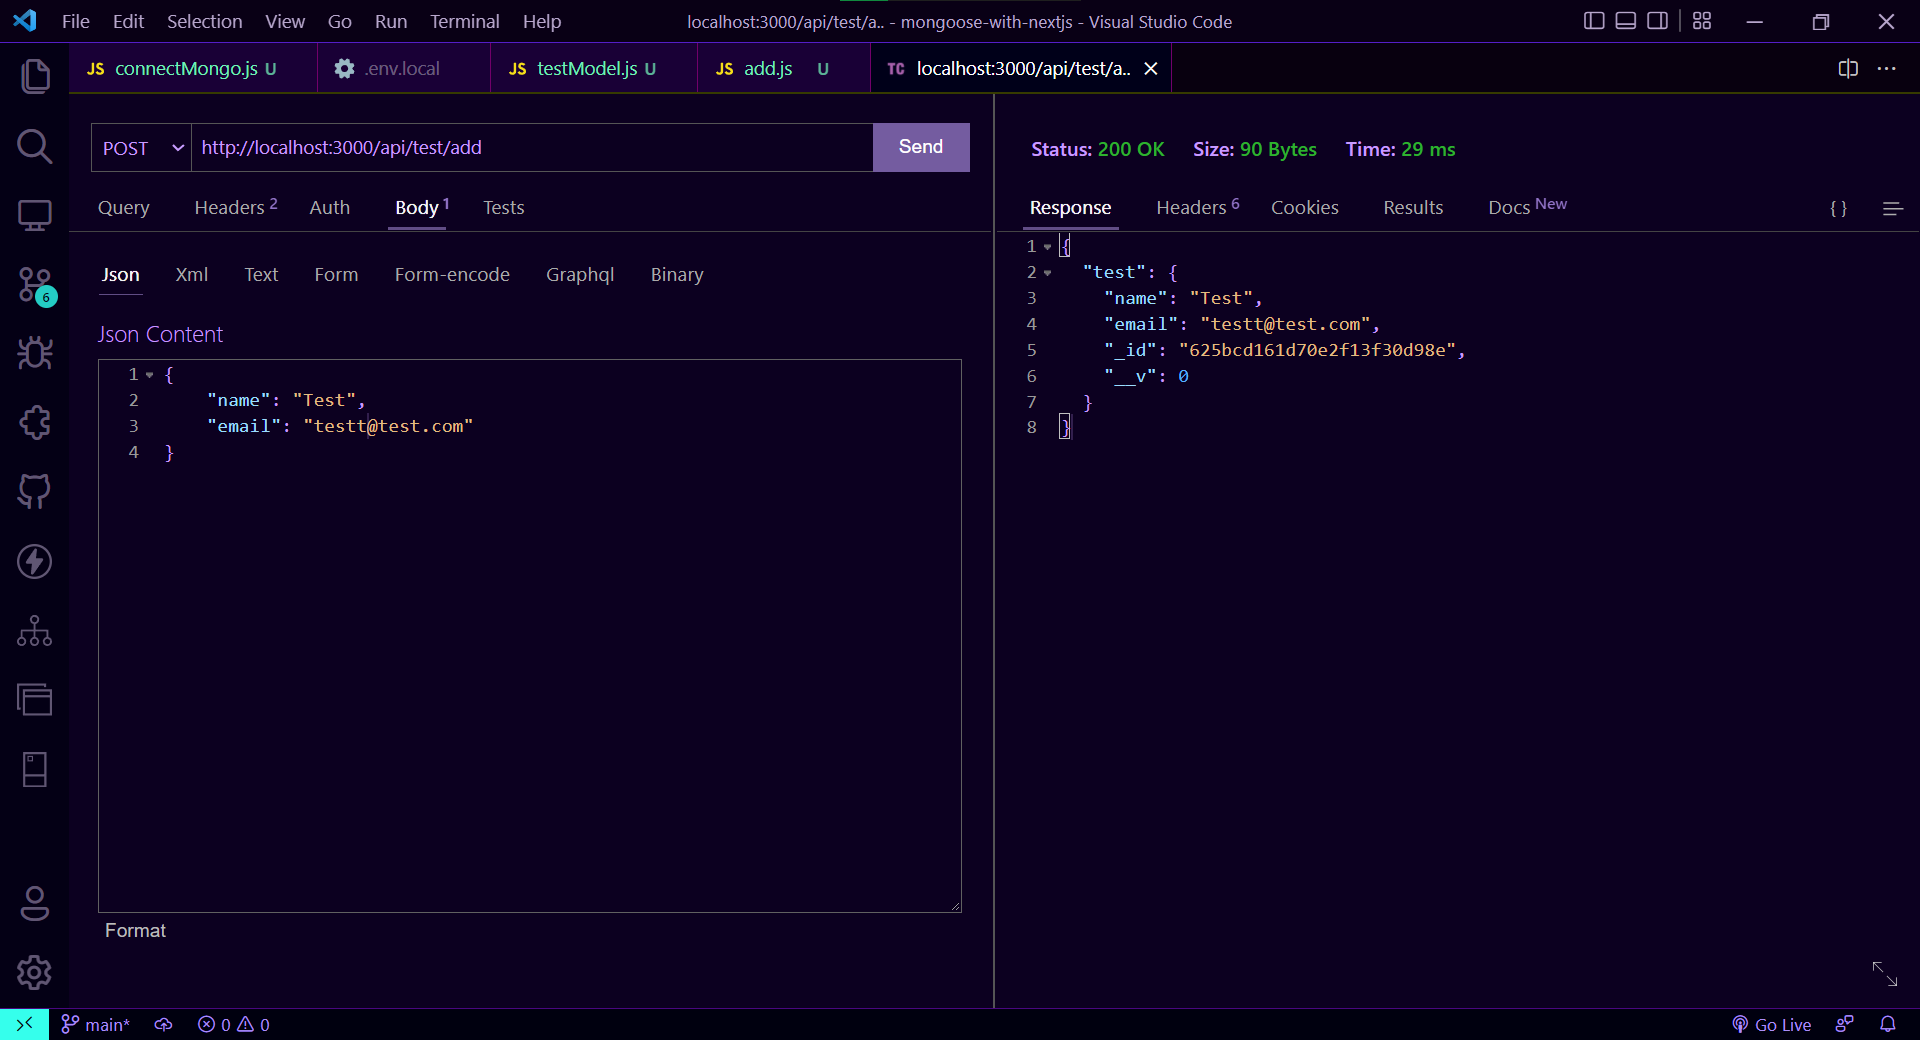
You can test it from the [Thunder Client](https://www.thunderclient.com/) extension in VS Code, [Postman](https://www.postman.com/) or [Insomnia](https://insomnia.rest/download). Whatever you wish! I like to use Thunder Client.
## Create new document from front-end
Now that we have our back-end API created and we have verified that it's working, we can quickly write some front-end code to make it usable in our app.
On the homepage inside the `index.js` file, I changed the file so that when we click the button, a new document will get added to the database.
```jsx
import Head from 'next/head';
import Image from 'next/image';
import styles from '../styles/Home.module.css';
export default function Home() {
const createTest = async () => {
const randomNum = Math.floor(Math.random() * 1000);
const res = await fetch('/api/test/add', {
method: 'POST',
headers: {
'Content-Type': 'application/json',
},
body: JSON.stringify({
name: `Test ${randomNum}`,
email: `test${randomNum}@test.com`,
}),
});
const data = await res.json();
console.log(data);
};
return (
);
}
```
## Fetch and display documents
Now it's time to use Next.js's biggest feature! Server-Side Rendering. We can use SSR in Next.js to easily run back-end Node.js code as we want and the data can be easily accessible through the `props` to the page.
In the `index.js` file itself, we'll import the `connectMongo` and `Test` again and use them inside the `getServerSideProps` function that we have to export like this 👇
```js
import connectMongo from '../utils/connectMongo';
import Test from '../models/testModel';
export const getServerSideProps = async () => {
try {
console.log('CONNECTING TO MONGO');
await connectMongo();
console.log('CONNECTED TO MONGO');
console.log('FETCHING DOCUMENTS');
const tests = await Test.find();
console.log('FETCHED DOCUMENTS');
return {
props: {
tests: JSON.parse(JSON.stringify(tests)),
},
};
} catch (error) {
console.log(error);
return {
notFound: true,
};
}
};
```
In this function, we can easily fetch any data we want and it will be done on the server and then we have to **return** it as `props`. That will be accessible to the page. You can read about [`getServerSideProps` on the Next.js docs](https://nextjs.org/docs/basic-features/data-fetching/get-server-side-props)
> IMPORTANT: Make sure to sanitize the `tests` variable with `JSON.parse(JSON.stringify(tests))` because it contains `ObjectID` from MongoDB instead of a normal string. This trick converts it into a string that can be passed in the `return` object.
That's it! After we're done fetching the data we can easily display it by accessing it through the props on our page and we can use it however we want. In this case we'll map over that data to output every document like so
```jsx
export default function Home({ tests }) {
// ...
return (
// ...
// ...
);
}
```
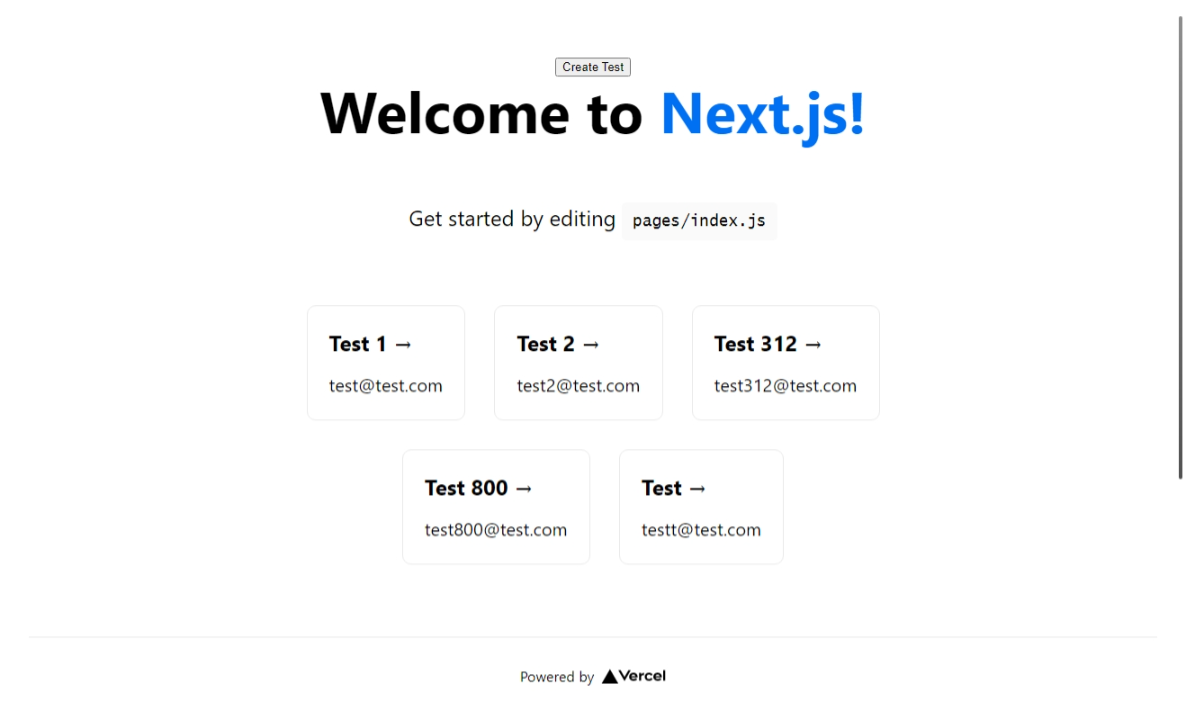
Finally, this is what our page looks like:
I have explained everything deeply in the YouTube tutorial below 👇👇
%[https://www.youtube.com/watch?v=cM0pA50R20M]
I hope this post helped you successfully set up Mongoose in your Next.js app. If it did, please leave a like!
Comment down your thoughts! There is always room for improvement so let me know your suggestions on this project!
**Connect with me on my [YouTube channel](https://youtube.com/MaxProgramming) and my [Twitter](https://twitter.com/maxprogramming1) 😉**
Thanks for reading ✌