# 💡 Easy Copy to Clipboard Button in Vanilla JavaScript
## 👋 Welcome back developers.
## So, in this article we will see how we can create a simple *Copy to Clipboard* functionality in JavaScript.
> Note: This will only work if you want to copy text inside of an `input` or `textarea`. It can't be done with any other element.
This is how it's gonna work 👇
It is just a few lines of code and we will be done with it! Let's start with the HTML!
## 🎨 HTML
The markup for this is very simple. We'll have an `input` and a `button` with some `id` and that's it. We'll also use an icon font called ** [Phosphor icons](https://phosphoricons.com/)**. So just include it and use the HTML as shown below
```html
Copy to clipboard
```
This will be the result 👇

## 💄 CSS
Now we will do the CSS. It will not be too much, but I will be explaining what we do for each element.
First off, we'll use the **Universal Selector (*)**. And put some resets in it. We are putting the font size as `1.5rem` as there is no other element except for the `input` and the `button`.
```css
* {
margin: 0;
padding: 0;
font-size: 1.5rem;
box-sizing: border-box;
}
```
Next up, we'll center everything on our page using Flexbox on our body and height as `100vh`.
```css
body {
height: 100vh;
display: flex;
justify-content: center;
align-items: center;
}
```
Result after centering everything 👇
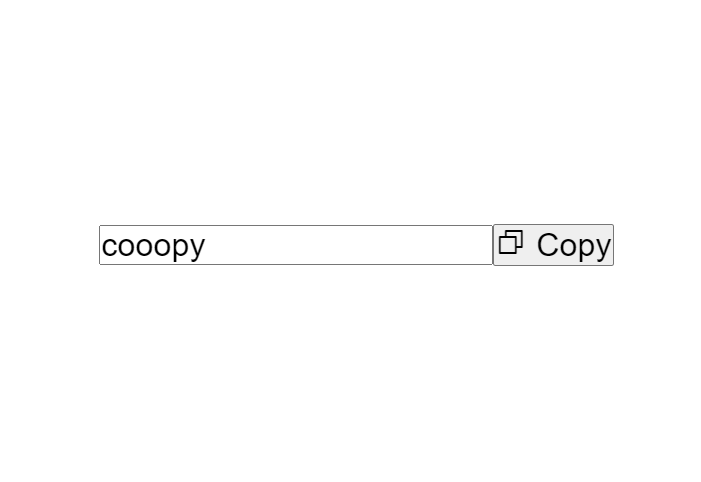
Now, we will style our `button` and `input`, first off, I wrote the common styles by selecting both of them together. These properties are pretty self-explanatory.
```css
button, input {
padding: 20px;
border-radius: 20px;
outline: none;
}
```
Then we give the `input` some color on the border and a nice and simple effect on `focus`. We set the cursor as `default` so that some people might not get caught that this is an input.
```css
input {
cursor: default;
border: 5px solid #2196F3;
transition: all 0.3s ease-in-out;
}
input:focus {
border-color: #0078D7;
}
```
And finally, we style our `button` as shown below. We give it a nice background color and a hover effect changing the background.
```css
button {
cursor: pointer;
color: #fff;
background: #0078D7;
border: none;
margin-left: 10px;
transition: all 0.3s ease-in-out;
}
button:hover {
background: #2196F3;
}
```
End result:
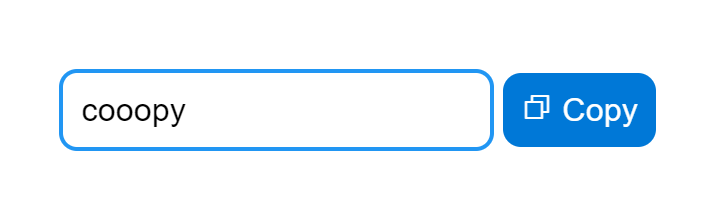
Now let's jump to the **most easiest**, JS part!
## 💡 JavaScript
The JavaScript will be pretty straightforward. When the button is clicked, we will trigger a function where we will first **select the input** and then we will **execute the copy command**. Let's see how.
First, we select both of the button and input by their IDs
```js
const copyBtn = document.getElementById('copyBtn')
const copyText = document.getElementById('copyText')
```
And then we check if the button is clicked using `onclick` in JS. You can also use `addEventListener` or `onclick` in HTML if you wish. But I think this is the easy way.
When the button is clicked, we **select the text** and then **copy it**.
```js
copyBtn.onclick = () => {
copyText.select(); // Selects the text inside the input
document.execCommand('copy'); // Simply copies the selected text to clipboard
}
```
So with the `select()` method, we basically select the text that is inside the `input` or `textarea`. And with `execCommand`, we execute the `copy` command, which in the end copies whatever text we have selected.
🎉 And we are done with it.

> Warning: the `execCommand()` method still works but it is non standard and I will write an updated blog post covering the [Clipboard API](https://developer.mozilla.org/en-US/docs/Web/API/Clipboard_API) .
Let me know in the comments how was your experience throughout this blog post and share your projects where you used this super easy method of copying something in JavaScript.
💙 Give it a like if you liked reading it. Thanks for reading!!!